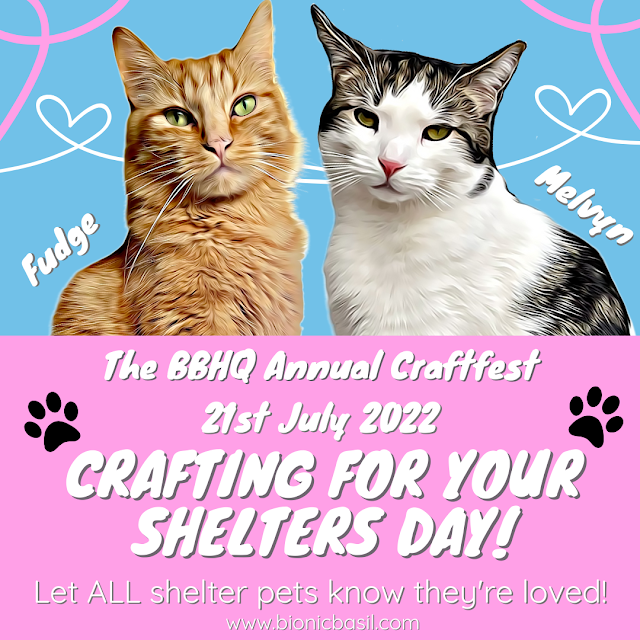
Welcome to day two of our mini craft-fest for
CRAFTING FOR YOUR SHELTERS
Our regular readers know how much we love to make stuff, and create something out of nothing, and if mew've missed any of our previous crafting posts, stop by the Crafting with Cats page to see everything we've made over the years.
Also, we love to upcycle, recycle and re-purpose items here at BBHQ, so most things can be made without having to buy anything in.
And if mew missed yesterday's post click here to see what we made.
LET'S CRAFT ON
We know there are lots of little kitties and K9's in shelters that are scared/lonely/needy
who would really benefit from this little snuggle toy, and you can see Melvyn loves it.
who would really benefit from this little snuggle toy, and you can see Melvyn loves it.
What you will need
Fabric*
Stuffing**
Catnip***
Sewing machine - needle and thread
Pins
Scissors
You can download** the PDF template from our google drive here or make your own template.
>^.^<
**Stuffing ~ we used regular wadding as we also had that in stock, but we suggest for our larger K9 pals to stuff with old socks as it will make the Snuggle Buddy a bit more robust.
***Cats Only ~ Catnip is for the kitty side of the shelter only.
* * *
Use our A4 template above or make your own.
You can scale the pattern up for larger K9s.
Cut out 2 pieces, leaving approx 1/4" extra all the way around - see pic 1 below
1.
& 2. Pin together [front and back view]
3. Sew together leaving
the bottom of the legs open
4. This is how your snuggle
buddy should look
5. Start stuffing your
snuggle buddy. Use a pencil or similar to poke to stuffing into the hard to
reach places.
6. Alternate stuffing
with the wadding and catnip.
For our smaller K9 friends just
use wadding.
And for bigger toys or K9s use old cotton socks or the like.
7. Once stuffed to
your liking, sew up the bottom of the legs.
8. Your snuggle buddy should
now look something like this.
Here's our finished
Snuggle Buddy
He's called Pilkington!
We did hand-sew some small pom poms for eyes and buttons and
added a little felt smile as this one is for demonstration purposes. Though we would advise
not to bother with that if you're taking yours to a shelter, just leave them plain. We will be making a few more to take to our local shelter without the pom poms. If you make one for home use and do add the pom poms, we suggest that you check the toy regularly just in case things come loose.
* * *
And that furiends furry sadly brings us to the end of our mini Craft-Fest. We do hope you've enjoyed it and feel inspired to make something, and we'd love to see how your projects turned out so feel free to post your pawesome crafty pics on our Facebook page at:
And that furiends furry sadly brings us to the end of our mini Craft-Fest. We do hope you've enjoyed it and feel inspired to make something, and we'd love to see how your projects turned out so feel free to post your pawesome crafty pics on our Facebook page at:
And if there's anything you'd like us to make, leave a comment with your idea/s.
Amber will be here tomorrow with a supurr special book review, so do stop by for that as she's got some epic to share!
Supurr crafty purrs
Wing Commander Basil & The B Team
**A quick note**
All Crafting with Cats ideas and creations are of our own design, and we share them for purrsonal/home use only.
So purrlease do not copy fur commercial/resale purrposes.
Copyright ©BionicBasil®
Disclaimer:
We at
BionicBasil HQ are not responsible or liable for any injuries to
person/s and/or cat/s, crafting addictions, glue on cats, paper cuts,
misplaced pins and needles, cats stealing your
supplies, broken scissors, cat fur stuck on your projects, or your
project not turning out as planned. Be super careful if you're using
cutting tools, take your time and always cut away from yourself and we do
recommend that you wear some special cut-resistant gloves like this: Cut Resistant Gloves for Safety. these
are just an example we found on Amazon and this is not an
affiliate link. This project is not suitable for younger readers
without parental/adult help. By using this information you hereby
agree to indemnify and hold harmless BionicBasil and staff from and
against any and all claims for personal injuries or damages of any kind arising
from use of any Crafting With Cats posts we may share.
Graphics created with paid licence www.canva.com and www.pizap.com


You are amazing and so creative, bravo!
ReplyDeleteThat is so cute, what a great Snuggle Buddy! You can see that Melvyn really enjoys it, I bet the shelter animals will love it too!
ReplyDeleteLes matériaux que nous avons utilisés étaient :
ReplyDelete-Un grand t-shirt
-Cataire
-Ruban ou ficelle
-Ciseaux
-Fil (facultatif)
Hug a stuffie! at least that's what Melvyn seems to be saying:)
ReplyDeleteHmm...wonder if I can adapt this design to make voodoo dolls.
ReplyDeleteHahahaha...just kidding!
*wink*
Awww, so cute. You're so talented. I would mess these up. Trust me.
ReplyDeleteHave a purrfect day and weekend. Scritches all around and a hug to mom. ♥
That snuggle buddy is so cute! I am afraid my crafting talents only go as far as making nip knots for the shelter cats.
ReplyDeletethey are adorable! Very talented!
ReplyDeleteWow! The P.A. did a great job with those snuggle buddies! And great demo by Melvyn on how to snuggle. :)
ReplyDelete