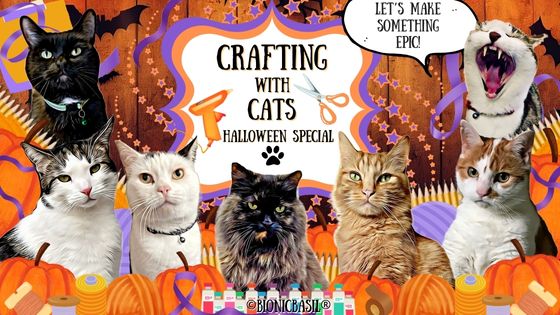
The Magic* Pumpkin Catnip Wand
Isn't it epic?

Orange faux fur fabric
Non-Toxic glue + Glue gun
String
Green feathers
Tinkly bell
Wooden dowel
Catnip
Stuffing or wadding
Needle ~ Thread ~ Scissors ~ Sticky Tape ~ Optional Sewing Machine
Today's project was made with supplies we already had in the craft room.
Let's Get Started
1. We used some leftover fabric and other supplies in the craft room.
2. We cut a circle for our pumpkin in the orange faux fur about 7.5" or just under 17 cm in diameter. (We used a 5L paint can to draw around!!! MOL)
3. Next, we cut three lengths of string to 48" or 108 cm.
4. Tying a knot to join them together.
5. & 6. & 7. Taping the string to the table, we plaited the three lengths together. We only did this because the sting was very thin and wouldn't have lasted two minutes with our claws. But if mew have a thicker string or twine, then mew can skip these steps.
8. Place the string in the centre of the faux fur on the inside.
9. Stitch the string to the faux fur. We did this because most wand toys detach too easily, so we're trying to mitigate that.
10. And for extra security, we added a blob of hot glue.
11. Then, we did a simple running stitch all the way around the edge of the faux fur. Leaving the needle attached to the thread as it's needed later on. So, don't snip anything yet!
12. Gently pull the stitches so the pumpkin shape begins to form. **Make sure the end of the thread is secure before pulling the stitches. Otherwise, mew will just pull all the thread out.
13. & 14. The fun part!!! MOL
15. Pull the stitches tighter so it's almost a fully formed pumpkin. Next, take the feathers and test them in situ for the right aesthetic.
16. And then, using more hot glue, dab a little on the bottom of each feather and stick them into the top of the pumpkin.
17. & 18. While the feathers are drying. Take the other end of the string and, using more hot glue, begin to secure the string to the end of the wand, wrapping it tightly and glueing it down as mew go until it reaches the bottom of the wooden dowel.
19. Back to the top of the pumpkin. Pull the thread as tight as it will go and stitch the opening closed, making sure to secure the feathers as well. Then we used a small bell from another toy that Melvyn recently destroyed in between the feathers.
20. Finally, using a little square of orange felt, we cut enough to make an end cap.
24. And voila, mew should have a really nifty, supurr fun pumpkin wand toy.
And there mew have it, only 24 easy peasy, supurr simple steps to making your very own Magic* Pumpkin Catnip Wand! MOL
It took just under an hour to make, so not that long, and that's us making something that we had no clue about when we walked into the craft room and pondered over the supplies we had in stock, so it should take mew much less time.
Let's see what Melvyn and Fudge Thought.

Smooch and Parsley were snoozing while these two heathens had some fun!
Watch our video on YouTube.
Yes, they are loving it. Smooch did appear to investigate and was horrified to learn that it had been slobbered all over and promptly harumphed and stalked off in a huff, shouting at the P.A., "Mew'd better make me one all for myself!"
And before mew say a word, we know the pumpkin is too big to flick around, but it was more of a 'chase me' toy, as the P.A. wanted something that Melvyn couldn't kill and decimate totally in under three seconds. So far, the pumpkin has survived being severely stalked, pounced on, repeatedly pursued and kicked to fluff over the last few days.
But, the good news is, mew can always make the pumpkin any size mew want; a gold ball size would be purrfect for flicking.

And that furiends furry sadly brings us to the end of Halloween Crafting with Cats re-run series.
Music used under license from SoundStripe. Track: Jackolantern Jive Artist: Lunareh


